Crispy Fried Chicken Recipe — Southern Buttermilk Style
This crispy fried chicken recipe delivers a golden, crunchy crust and juicy meat every time — perfect Southern buttermilk comfort food for weekends and gatherings.
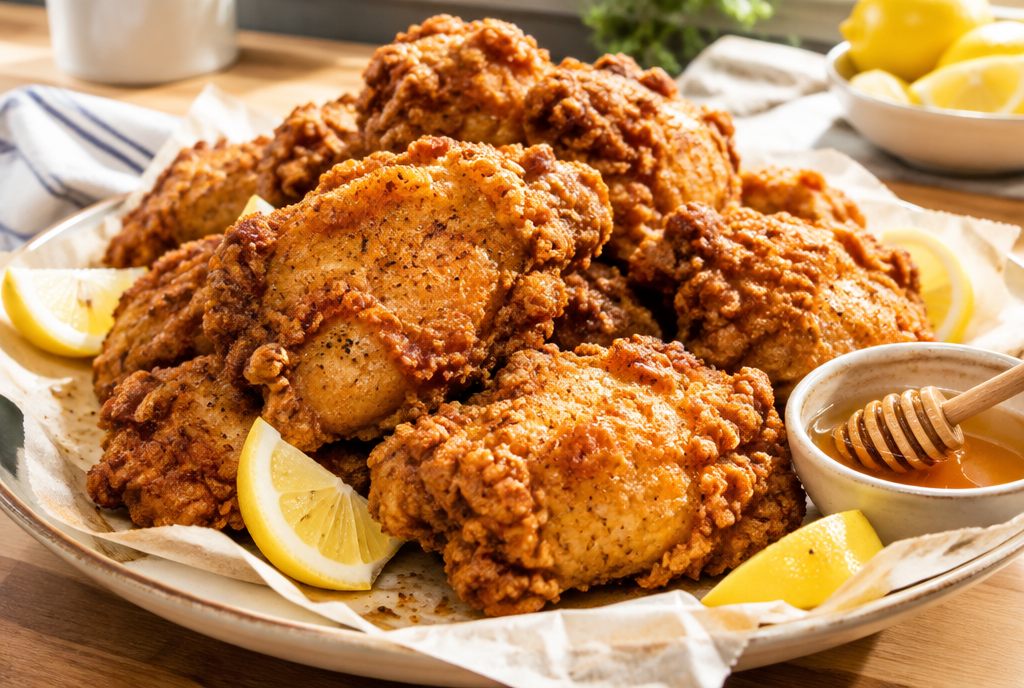
Why This Crispy Fried Chicken Recipe Works
This is the Southern buttermilk fried chicken you have been chasing — a thunderously crunchy crust that stays crisp long after it leaves the oil, and meat so juicy it practically drips. The secret is a three-part system:
- Overnight buttermilk brine tenderizes the meat and seasons it all the way to the bone.
- Double dredge in seasoned flour builds those dramatic, shaggy ridges that fry up extra crunchy.
- Precise oil temperature (325–350 °F / 165–175 °C) keeps the crust from burning before the inside cooks through.
No special equipment beyond a heavy pot and a thermometer. This recipe works equally well for a casual Friday dinner or a backyard cookout spread. Follow the steps, trust the visual cues, and you will pull golden, crackling chicken from the oil on your very first try.
Crispy Fried Chicken Recipe — Southern Buttermilk Style
This crispy fried chicken recipe delivers a golden, crunchy crust and juicy meat every time — perfect Southern buttermilk comfort food for weekends and gatherings.
Ingredients
Tick the ingredients as you go
For the buttermilk brine
For the seasoned flour dredge
For frying
Instructions
- 1
Brine the chicken
Whisk together the buttermilk, 2 tsp kosher salt, black pepper, garlic powder, and hot sauce in a large bowl. Add the chicken pieces, making sure they are fully submerged, then cover and refrigerate for at least 4 hours or overnight (up to 24 hours). The buttermilk will look slightly thickened and cling to the chicken when it is ready.
- 2
Mix the dredge
Combine the flour, cornstarch, and all the spices in a wide, shallow dish and whisk until evenly mixed. The mixture should look uniform in color with no white streaks of plain flour.
- 3
Dredge the chicken (first coat)
Lift one piece of chicken from the buttermilk, letting the excess drip off for 5 seconds, then press it firmly into the seasoned flour on all sides. Shake off any loose flour and set the coated piece on a wire rack set over a baking sheet. Repeat with all remaining pieces.
- 4
Double-dredge for extra crunch
Dip each floured piece back into the buttermilk brine for 10 seconds, then press it into the seasoned flour a second time, squeezing gently so the coating adheres and forms rough, shaggy ridges. Return to the wire rack. Let the coated chicken rest, uncovered, for 15–20 minutes — this drying time is what locks the crust in place.
- 5
Heat the oil
Pour the oil into a large, heavy-bottomed pot or Dutch oven to a depth of about 3 inches (7.5 cm) and heat over medium-high heat until a deep-fry thermometer reads 350 °F (175 °C). Clip the thermometer to the side of the pot and keep it there throughout cooking.
- 6
Fry dark-meat pieces first
Working in batches of 3–4 pieces to avoid crowding, carefully lower thighs and drumsticks into the hot oil using tongs. The oil will bubble vigorously — that is normal. Fry for 13–15 minutes, turning the pieces with tongs every 3–4 minutes, until the crust is a deep mahogany brown and an instant-read thermometer inserted at the thickest point (away from bone) reads 165 °F (74 °C). Adjust the burner as needed to keep oil between 325–350 °F (165–175 °C).
- 7
Fry white-meat pieces
Transfer the cooked pieces to a clean wire rack set over a baking sheet (not paper towels) and tent loosely with foil to keep warm. Return the oil to 350 °F (175 °C), then fry breasts and wings for 10–12 minutes, again turning every 3–4 minutes, until golden-brown and 165 °F (74 °C) at the thickest point.
- 8
Rest and serve
Let all the chicken rest on the wire rack for 5 minutes before serving — this allows the juices to redistribute and the crust to firm up further. Season lightly with a pinch of flaky salt right out of the oil if you like, and serve immediately.
Tips & tricks
- Rest the dredge. After the second flour coat, let the chicken sit on the rack for 15–20 minutes before frying. This dries the coating and prevents the crust from sliding off in the oil.
- Keep your thermometer in the pot. Oil temperature drops every time you add cold chicken. Check it after each addition and adjust the burner quickly to stay in the 325–350 °F (165–175 °C) zone.
- Never crowd the pan. Frying more than 4 pieces at once sends the temperature crashing and steams instead of fries, giving you a pale, soggy crust. Patience between batches is free crunch.
- Wire rack, not paper towels. Resting on paper towels traps steam underneath the chicken and softens the bottom crust. A wire rack lets air circulate all around, keeping every surface crisp.
- Double dredge every time. One coat of flour gives you a thin, fragile shell. Two coats, with a dip back in buttermilk in between, builds the thick, shaggy ridges that shatter when you bite in.
Substitutions
- Buttermilk → Whisk 2 tbsp white vinegar or lemon juice into 2 cups (480 ml) whole milk and let it sit for 5 minutes until it curdles slightly.
- All-purpose flour → For a gluten-free version, use a 1:1 gluten-free flour blend plus the same amount of cornstarch; the texture will be slightly more delicate.
- Peanut oil → Any neutral high-smoke-point oil works: vegetable, canola, or refined avocado oil.
- Whole chicken (cut up) → Bone-in, skin-on thighs only make an excellent, forgiving batch — they stay juicy even if you fry them an extra minute or two.
- Smoked paprika → Regular sweet paprika or an equal part of ancho chili powder both work; the smoky note will be milder.
Storage & reheating
Store leftover fried chicken in an airtight container in the refrigerator for up to 3 days. To freeze, arrange cooled pieces in a single layer on a baking sheet and freeze until solid (about 2 hours), then transfer to a zip-lock freezer bag; they keep well for up to 2 months. To reheat and preserve the crunch, place pieces on a wire rack set over a baking sheet and bake at 400 °F (200 °C) for 15–20 minutes (straight from the fridge) or 25–30 minutes from frozen, until the crust is sizzling and an instant-read thermometer reads 165 °F (74 °C). Avoid the microwave — it turns the coating rubbery.
Nutrition (per serving)
- Calories
- 610
- Fat
- 34 g
- Saturated fat
- 7 g
- Carbs
- 38 g
- Sugar
- 2 g
- Fiber
- 1 g
- Protein
- 38 g
- Sodium
- 820 mg
- Serving size
- 2 pieces (1 thigh + 1 drumstick, approx.
Nutrition values are estimates calculated from the ingredients and may vary with brands and portion sizes.
Fresh & Fusion · https://freshandfusion.com/recipes/crispy-fried-chicken-recipe-southern-buttermilk-style
Frequently asked questions
How long should I marinate the chicken in buttermilk?
A minimum of 4 hours gives the buttermilk time to tenderize the meat and season it throughout. Overnight (8–12 hours) is the sweet spot, and you can safely go up to 24 hours without the texture becoming mushy.
What oil temperature is best for frying chicken?
Keep the oil between 325 °F and 350 °F (165–175 °C) throughout cooking. Below 325 °F the chicken absorbs too much oil and turns greasy; above 350 °F the crust browns before the meat cooks through.
How do I know when the chicken is fully cooked?
The most reliable method is an instant-read thermometer inserted into the thickest part of the meat, away from the bone — it should read 165 °F (74 °C). As a visual backup, the juices should run clear (not pink) when you pierce the meat.
Can I make this fried chicken in an air fryer?
Yes. After the double dredge, spray the coated pieces generously with cooking spray on all sides and air-fry at 400 °F (200 °C) for 20–25 minutes, flipping once halfway through. The crust will be crunchy and golden, though slightly less dramatic than the deep-fried version.
Why does my coating fall off when I fry the chicken?
The two most common culprits are skipping the resting step (the 15–20 minutes on the rack after dredging) and lowering wet, dripping chicken into the flour without letting the excess buttermilk drain first. Both prevent the coating from bonding to the skin properly.
Can I fry the chicken without a Dutch oven?
A 12-inch (30 cm) cast-iron skillet filled with about 1½ inches (4 cm) of oil works well for shallow-frying — the chicken will not be fully submerged, so turn the pieces more frequently (every 2–3 minutes). A heavy-bottomed stainless-steel pot is another solid option.
Reviews
No reviews yet — be the first to rate this recipe.
You might also like
More Dinner recipes →-
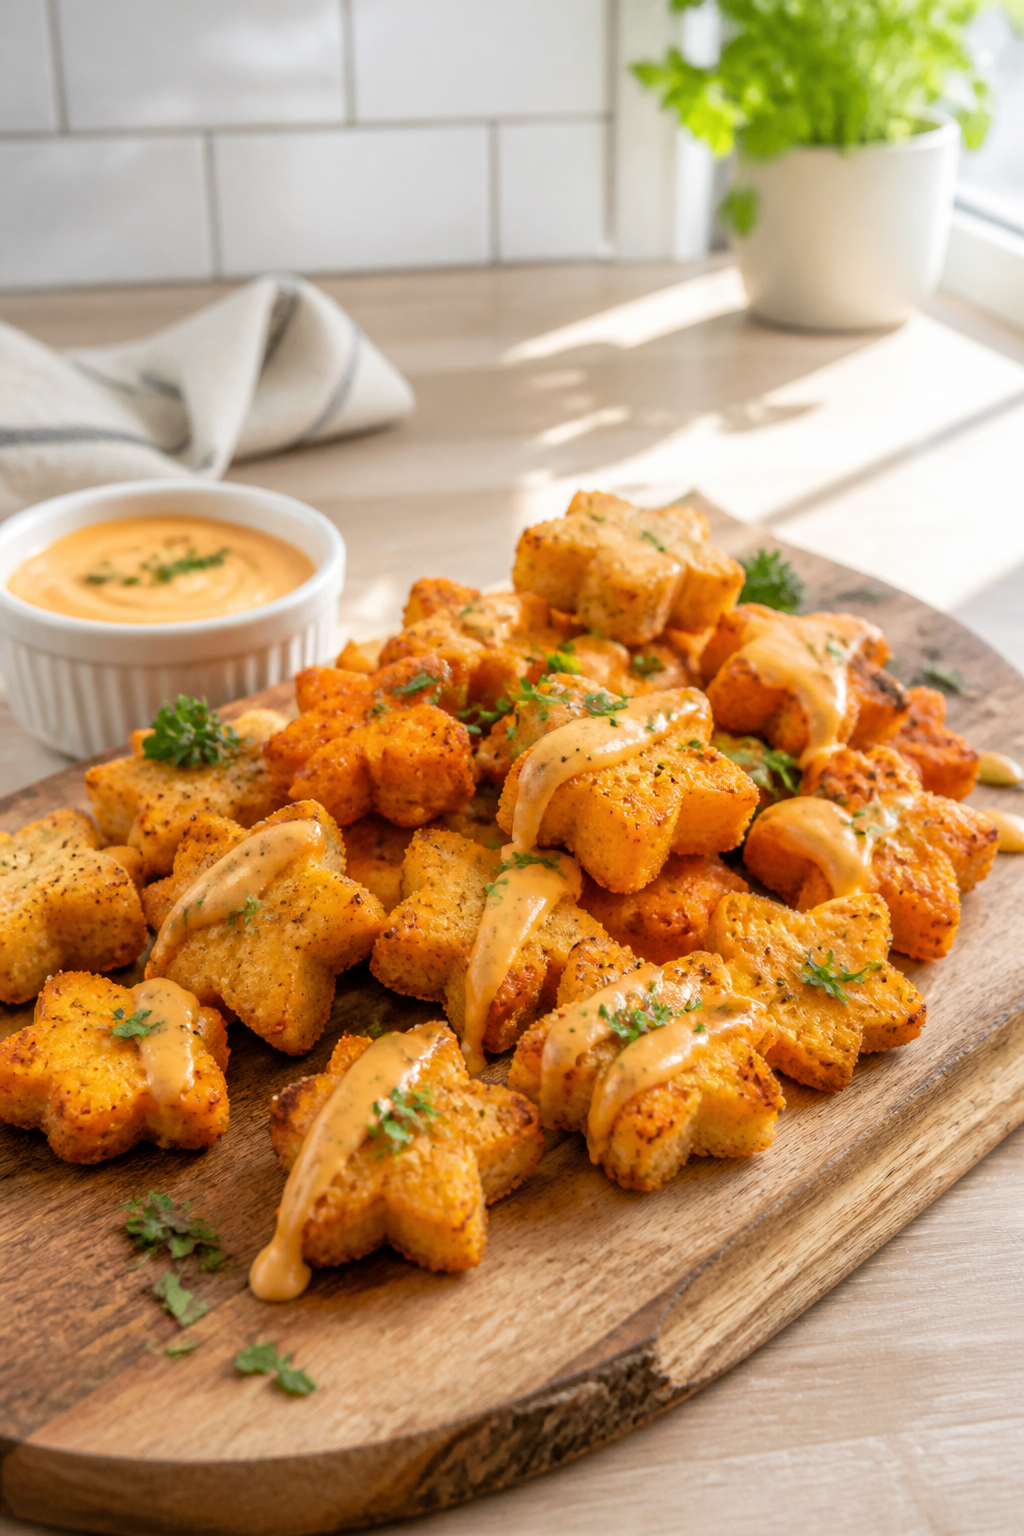
Crispy Star-Shaped Chicken & Sweet Potato Bites
Crunchy panko-crusted stars with a soft sweet potato and chicken center. Air fry or deep fry, freeze extras, and dip in a creamy orange sauce.
-
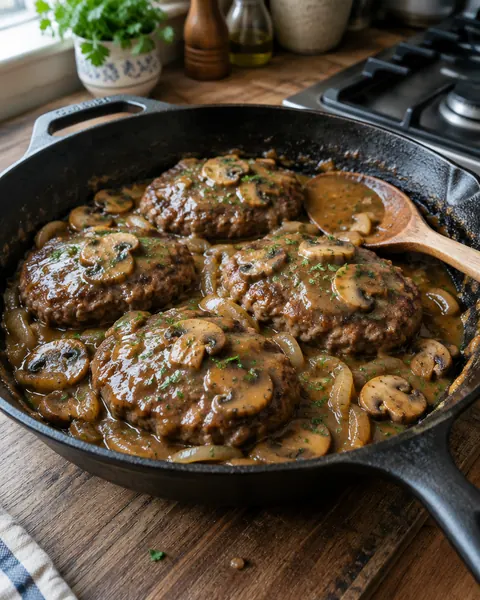
Beef Patties Simmered in Mushroom Onion Gravy
Seasoned beef patties seared and simmered in a glossy mushroom and onion gravy made in the same skillet, in 30 minutes.
-
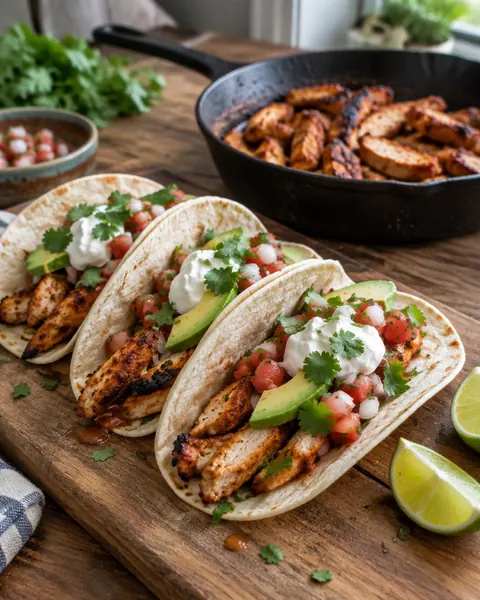
Smoky Citrus-Chile Chicken Tacos
Chicken thighs marinated in orange, lime, garlic and smoky chile, seared and sliced into tortillas with salsa and avocado.